It's that time of the year again. A new release of Ubuntu is out and you're debating whether and when to upgrade. Since this is an LTS release (supported for the next 5 years), it's not a question of whether to upgrade. It's a question of when. In this article I'm going to show you a *safe* and *painless* way to upgrade to Ubuntu 14.04 using Aptik and TimeShift. Aptik will help you backup and re-install your software on the new system. TimeShift will help you restore your previous system in case you decide that you don't want to keep your new system.
Following are the steps involved:
1) Install Aptik and TimeShift on your existing system
2) Take a system snapshot using TimeShift
3) Take backups using Aptik
4) Install Ubuntu 14.04
5) Install Aptik and TimeShift on your new system
6) Restore backups using Aptik
7) Go back to your previous system (optional)
1) Install Aptik and TimeShift on your existing system
Run the following commands:
sudo apt-add-repository -y ppa:teejee2008/ppa
sudo apt-get update
sudo apt-get install aptik timeshift
2) Take a system snapshot using TimeShift
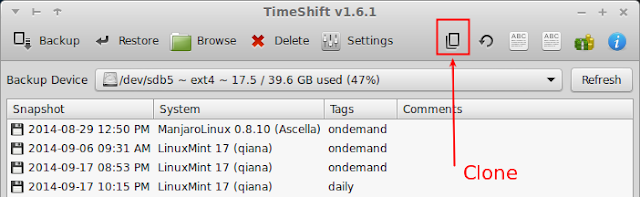
- Start TimeShift from the icon in your application menu.
- Select a backup device. The selected partition must be a linux partition different from the one on which your system is installed (see warning below).
- Click the Backup button on the main window.
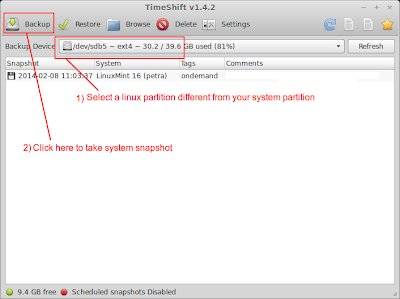
WARNING:
- Since the system partition gets formatted during the Ubuntu 14.04 installation process, you will lose the snapshot of your previous system if you use your system partition as the backup device. Select another linux partition that is different from your system partition. If you don't have another linux partition, create one by resizing your existing windows/NTFS partitions. If you have a portable hard disk, you can create a ext3/4 partition on it using gparted and use it as the backup device.
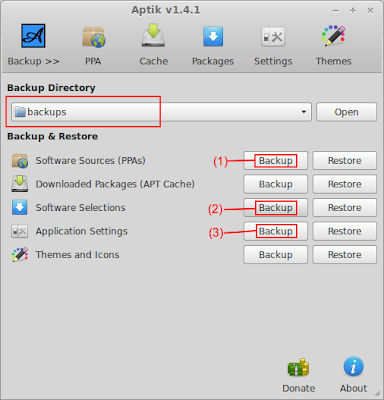
3) Take backups using Aptik
- Plug-in a USB drive and create a folder on it named 'backups'.
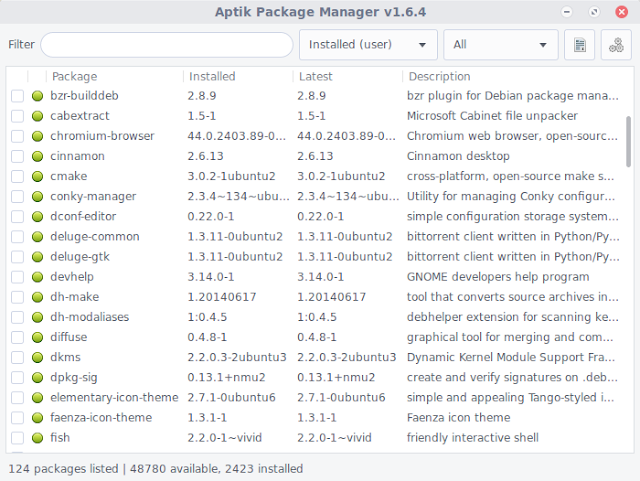
- Start Aptik from the icon in your application menu and select the 'backup' folder as the backup location.
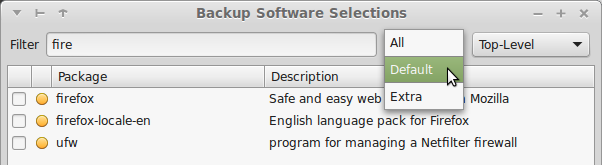
- Take backups of your PPA list, package list and application settings using the buttons on the main window.
Note:
- When you take backups of application settings, select only those items that you need. For example, you can backup the settings for your web browser (Firefox: ~/.mozilla) and your bitorrent client (Deluge: ~/.config/deluge).
- Taking a backup of downloaded packages is not useful since you are upgrading your system. The new release will be using newer packages that will have to be downloaded again.
- While taking backup of packages you need to be a little careful. Sometimes a single package can pull in a lot of dependencies. For example, if your current system is Xubuntu (which uses Xfce desktop) and you are upgrading to Ubuntu (which uses Unity desktop) then make sure that all Xfce-related packages are un-selected while taking backup. Normally, all packages that came with your distribution (Xubuntu) will be unselected. But if you have installed any additional packages for Xfce then these packages will be selected by default and need to be unselected. If you keep these extra packages selected while restoring backups on you new Ubuntu desktop, then it will install the entire Xfce desktop as a dependency.
4) Install Ubuntu 14.04
Download the Ubuntu 14.04 installation disk and install it.
5) Install Aptik and TimeShift on your new system
Run the commands from Step-1 to install TimeShift and Aptik.
6) Restore backups using Aptik
- Start Aptik from the icon in your application menu.
- Plug-in your USB drive and select the 'backup' folder that you had created earlier.
- Restore PPAs, packages and application settings using the buttons on the main window.

Note:
- Restoring packages will re-install the applications.
- When you restore application settings, please do NOT restore everything. Restore only what you need. For example, on my system I usually restore settings only for Firefox (~/.mozilla) and Deluge (~/.config/deluge). Restoring everything blindly will cause problems.
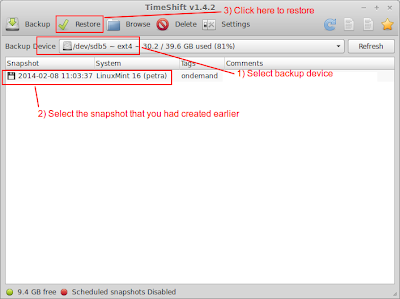
7) Go back to your previous system (optional)
If you decide that you want to go back to the system you had before, you can do it easily using TimeShift.
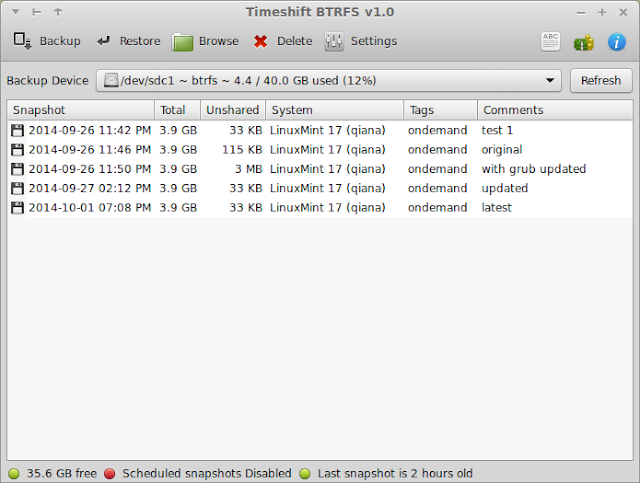
- Start TimeShift from the icon in your application menu.
- Select the backup device where you had create the previous snapshot.
- Select the snapshot from the list and click the Restore button to restore your system.
After your PC reboots, your system will be restored to the exact state it was in when the snapshot was taken.
Donate
TimeShift and Aptik are free for personal and commercial use. If you find these softwares useful and wish to support their development, please consider purchasing a support subscription for $10 or leaving a donation using the PayPal link below.
What you get when you purchase a support subscription or leave a donation:
- Technical support through email
- Any feature requests will be given higher priority
- People donating $10 or more will have their name listed as a donor
Disclaimer
This program is free for personal and commercial use and comes with absolutely no warranty. The author will not be liable for any damages arising from the use of this program.
This program is distributed in the hope that it will be useful, but WITHOUT ANY WARRANTY; without even the implied warranty of MERCHANTABILITY or FITNESS FOR A PARTICULAR PURPOSE.
See the GNU General Public License for more details.